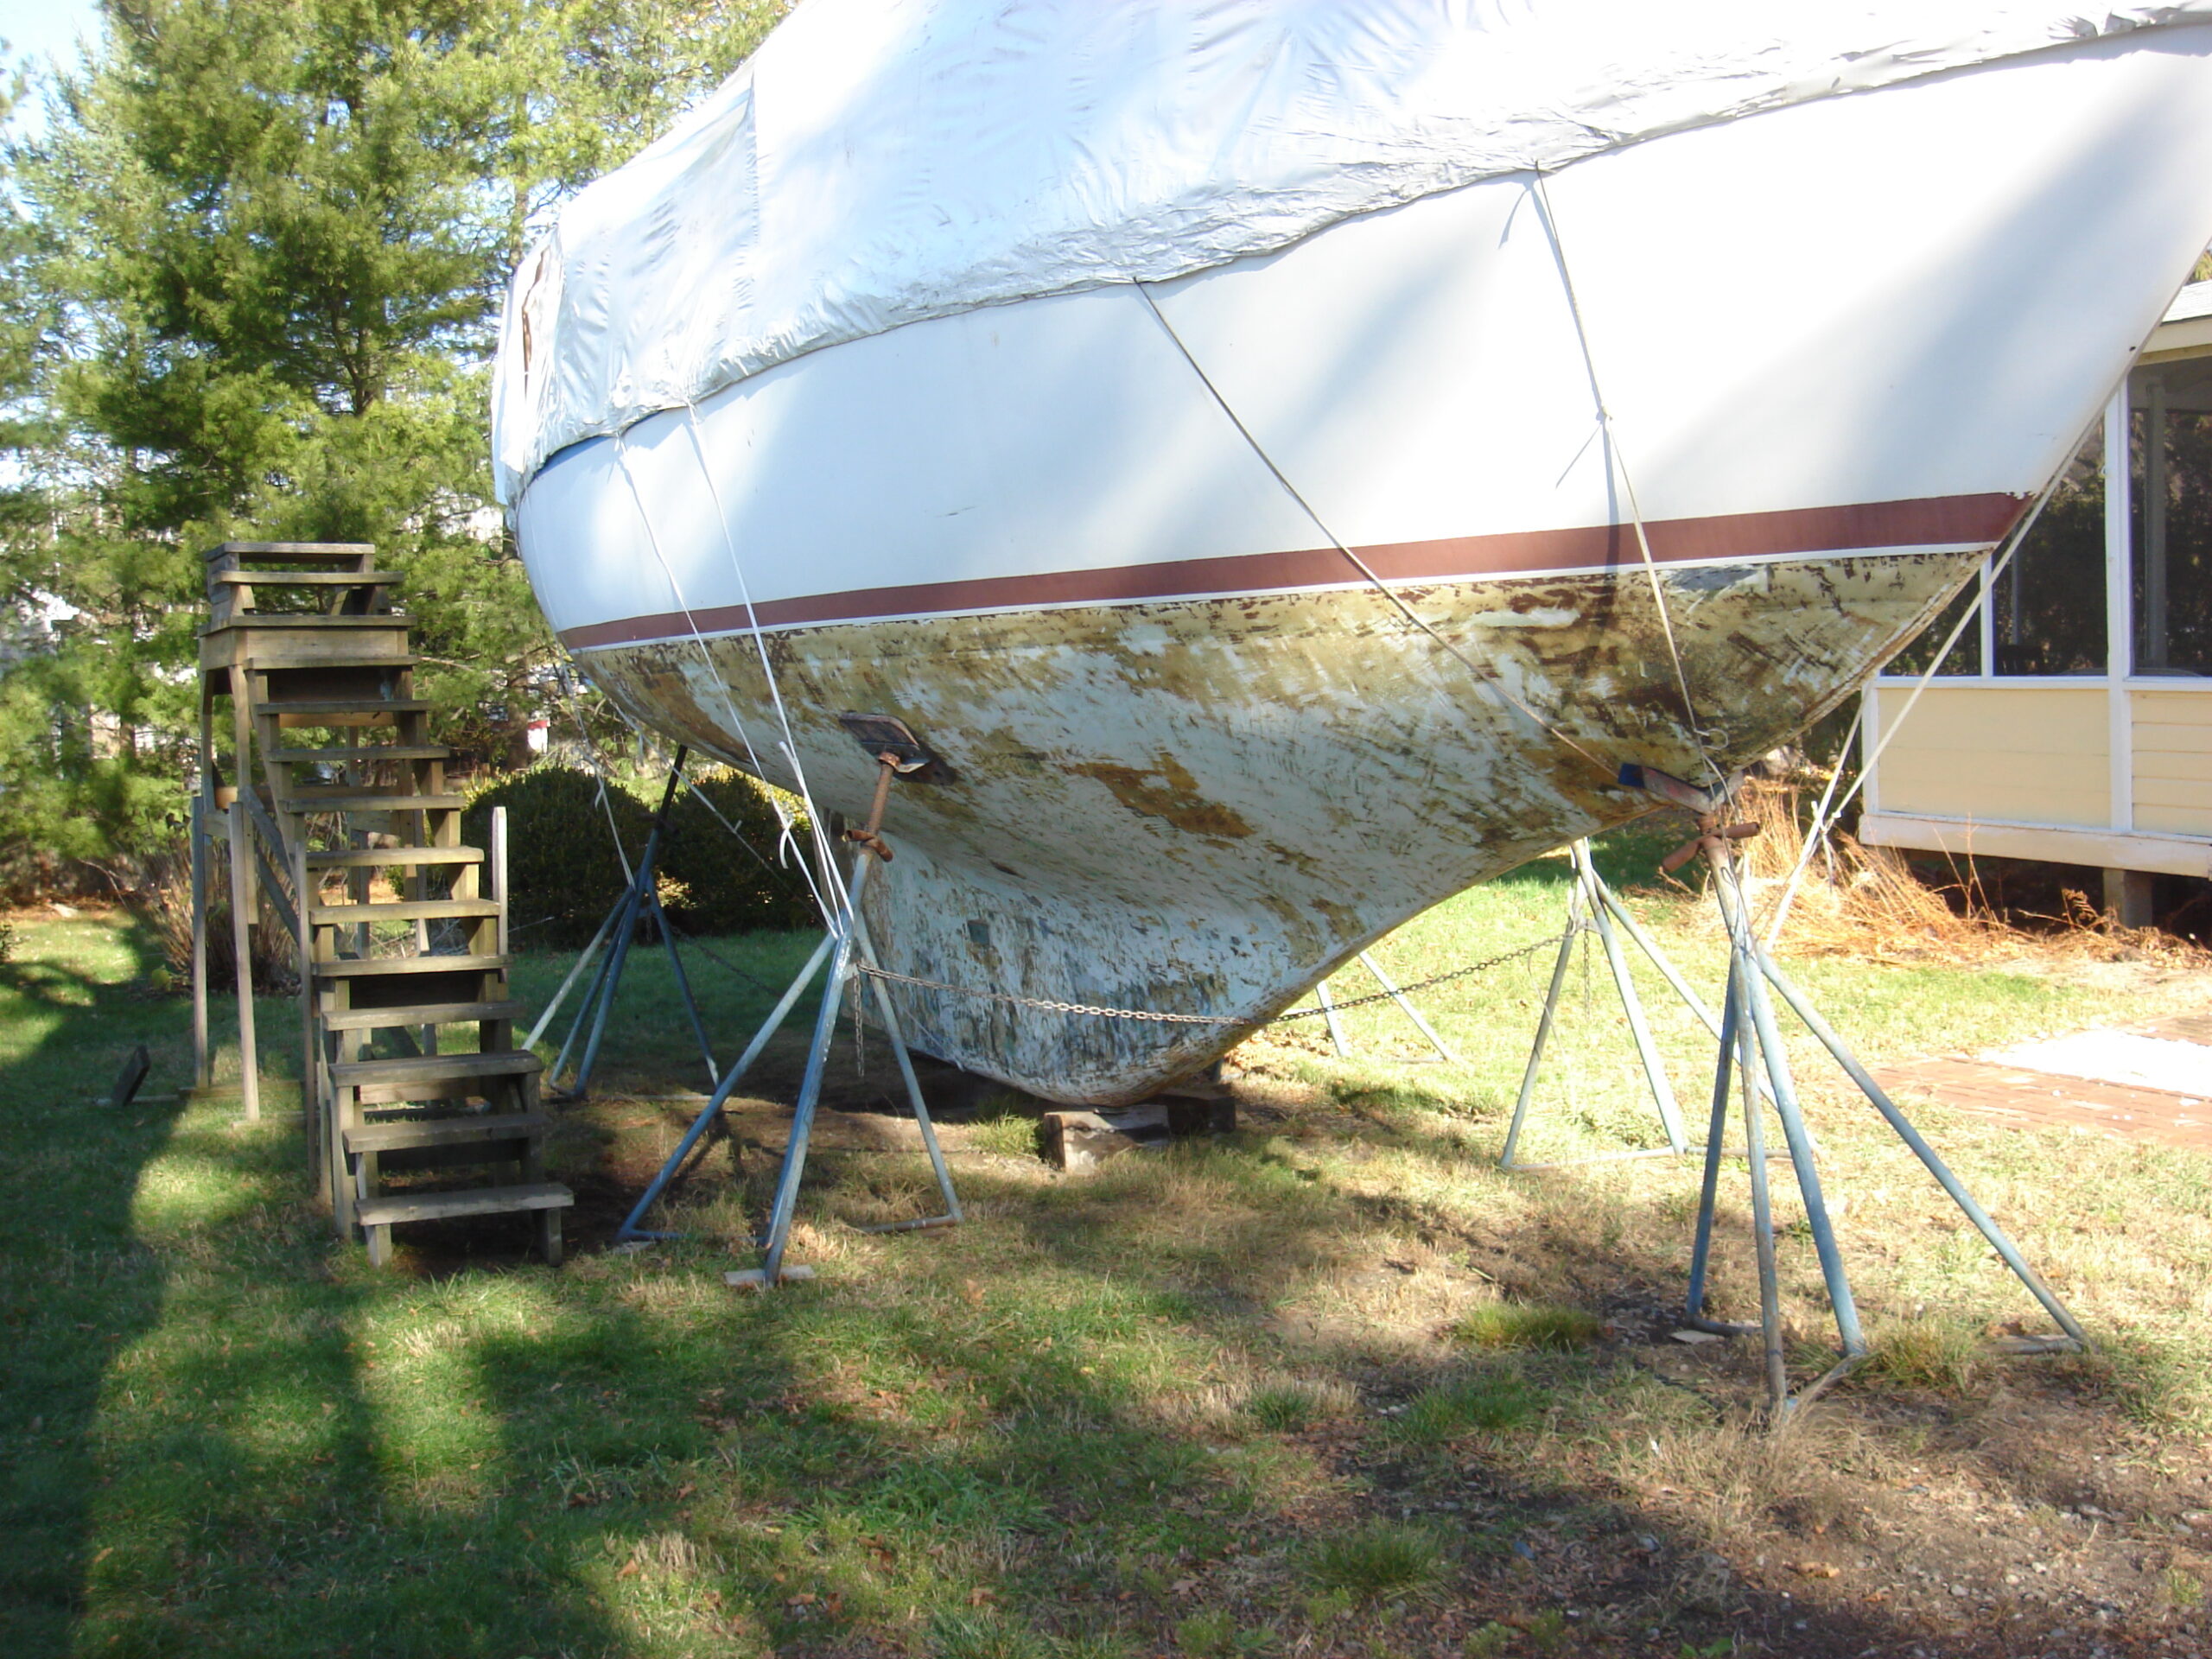
Forty years of new season paint applied over last years scaling paint can make quite a mess, so one of the first projects was to remove the old paint, apply a barrier coat, and start over with fresh bottom paint. It does not make sense to remove the old paint and *not* apply an epoxy barrier coat as prevention. But I know people who have skipped that part. In my opinion it is one of the best sweat equity projects you can do on a fiberglass hull, as it increases the boats value and doesn’t break the bank on materials.
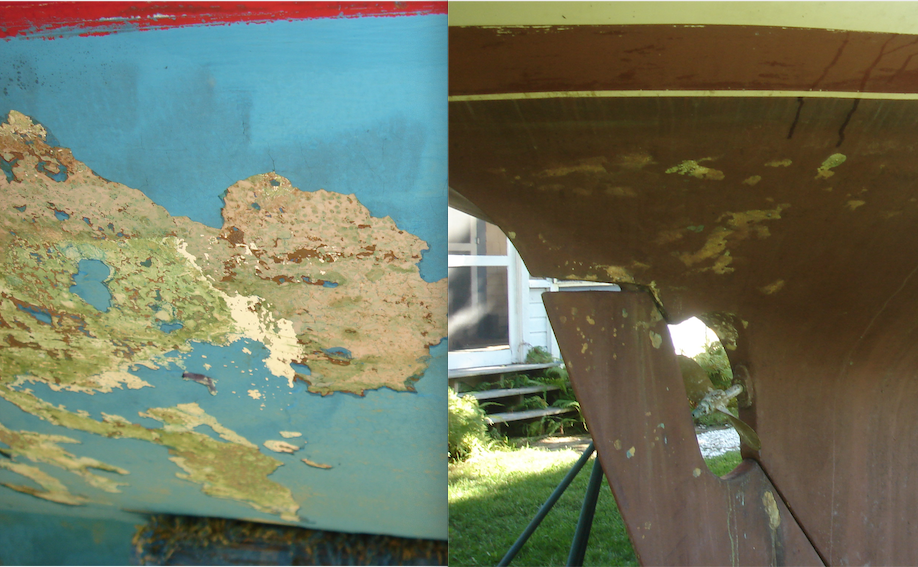
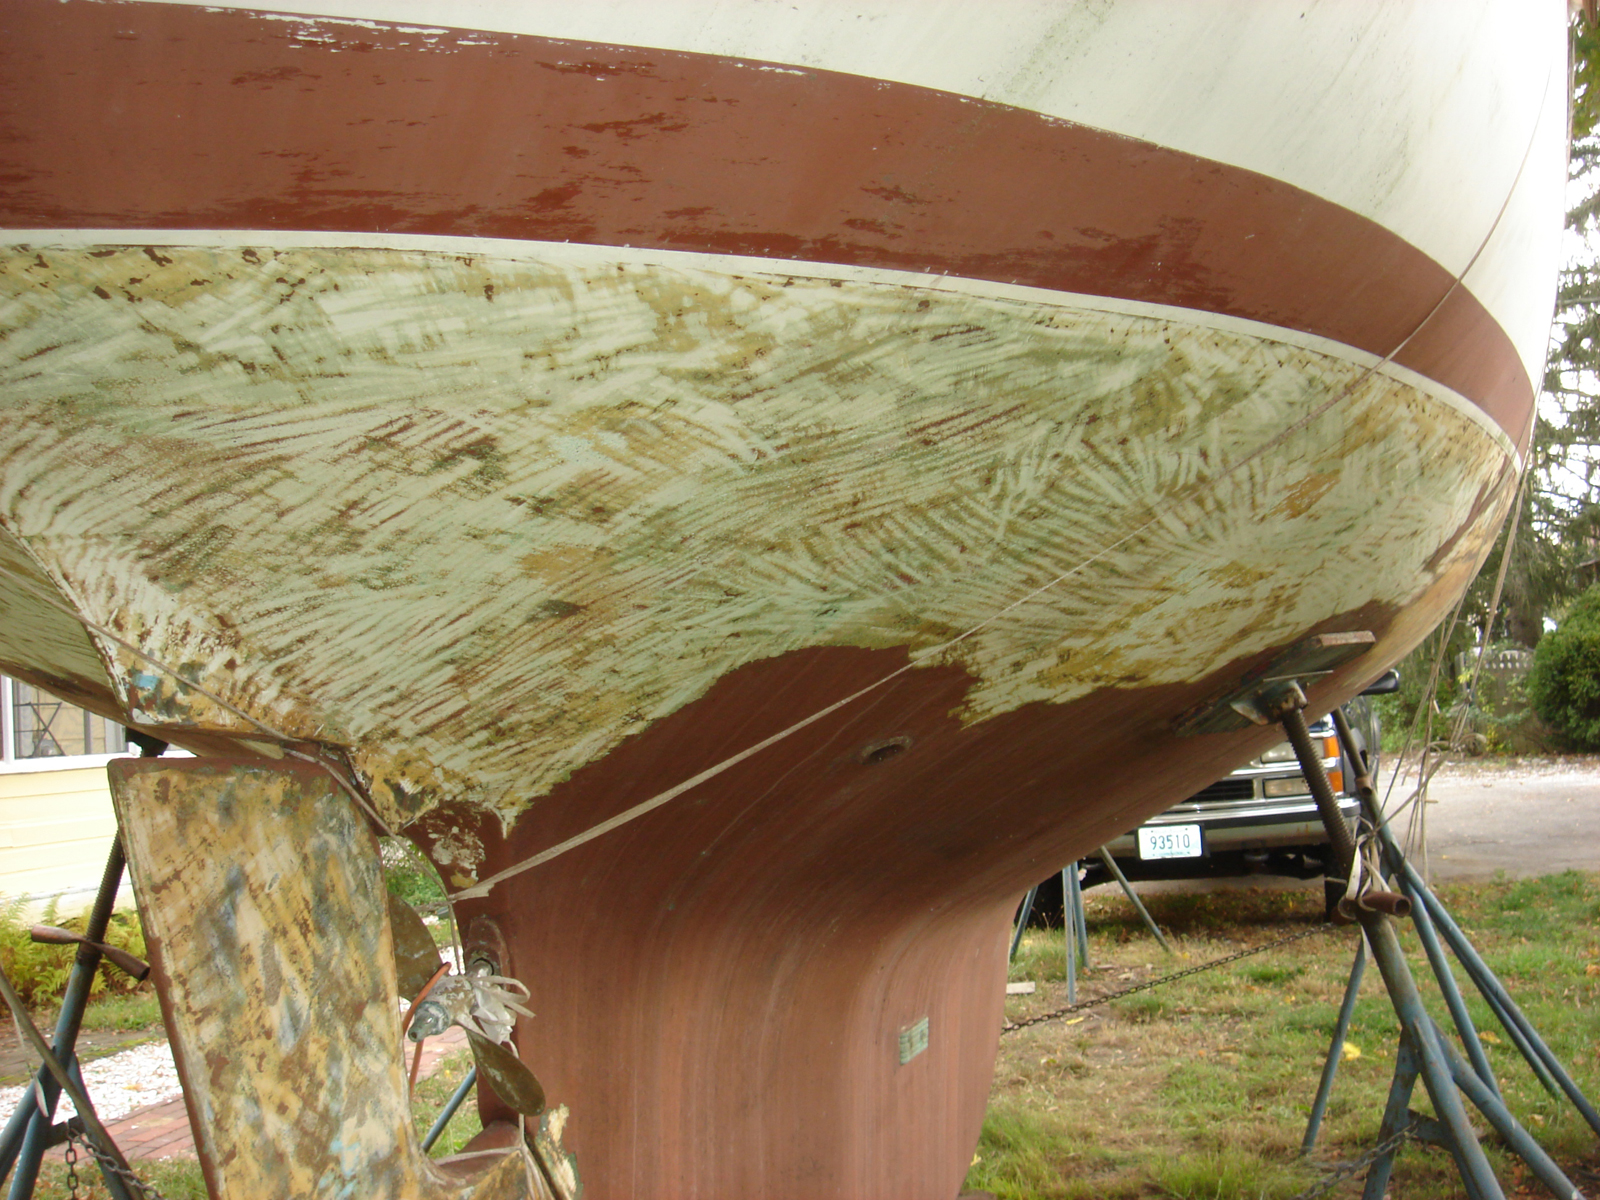
On boats where the scaling paint is just falling off in large pieces, like on Sanderling, it is relatively easy to scrape the bottom clean down to the gel-coat with my tool of choice, a scraper. But my ability to do this was dependent upon the flaking-off condition of the paint, and because I did not mind leaving her on the hard drying out for several seasons. I worked for a sailing school and was out on those boats enjoying the bay when I was not scraping.

If the bottom paint had been old but still sticking to the hull I would just clean, sand, and apply new paint. But with the cost of bottom paint, I can’t justify applying $120 a gallon paint to something I know it won’t stick to for even a week. I’m just feeding the fish in that case, and risking water intrusion past the gelcoat into the hull laminate.
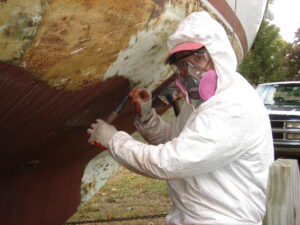
For anyone who finds evidence of blistering, bulging, or de-lamination of the fiberglass, those owners may need to forcibly remove even the stubborn layers of paint in order to mitigate or diagnose. Those projects require a peeler, blaster, or solvent stripper solution. Lucky for me both my Cape Dory boats were perfect candidates for the scraping method. With these conditions (dry and scaling), all layers just come right off with one swipe of the scraper, held at just the right angle and pressure. But it is serious aerobic work. I was held up in Annapolis once on a delivery waiting for parts, and a van drove up to a 40 footer in the marina yard, four guys got out, and in two casual days they stripped the bottom clean.
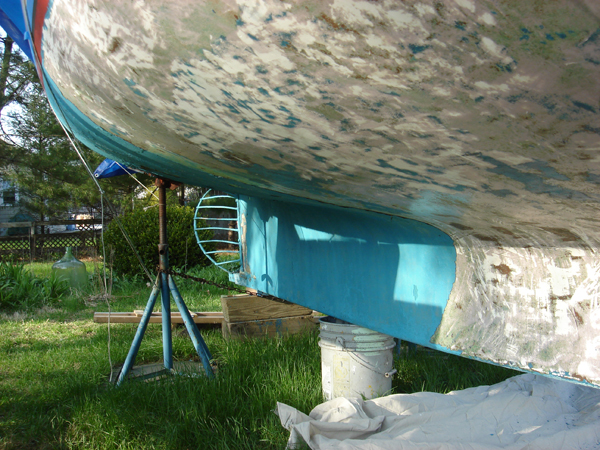
The gel coat applied to Cape Dory boats is pretty thick both above and below, as well as the layup of the hull. But I noticed that the condition of the below waterline gelcoat on Sanderling was much poorer than that of my previous 1984 CD 24 Trawler Viola, which had been of similar age. The gel coat on the 1980 CD 33 was brittle with small divots falling out even with gentle scraping, whereas the CD 24 Trawler gel coat was very hard and smooth.
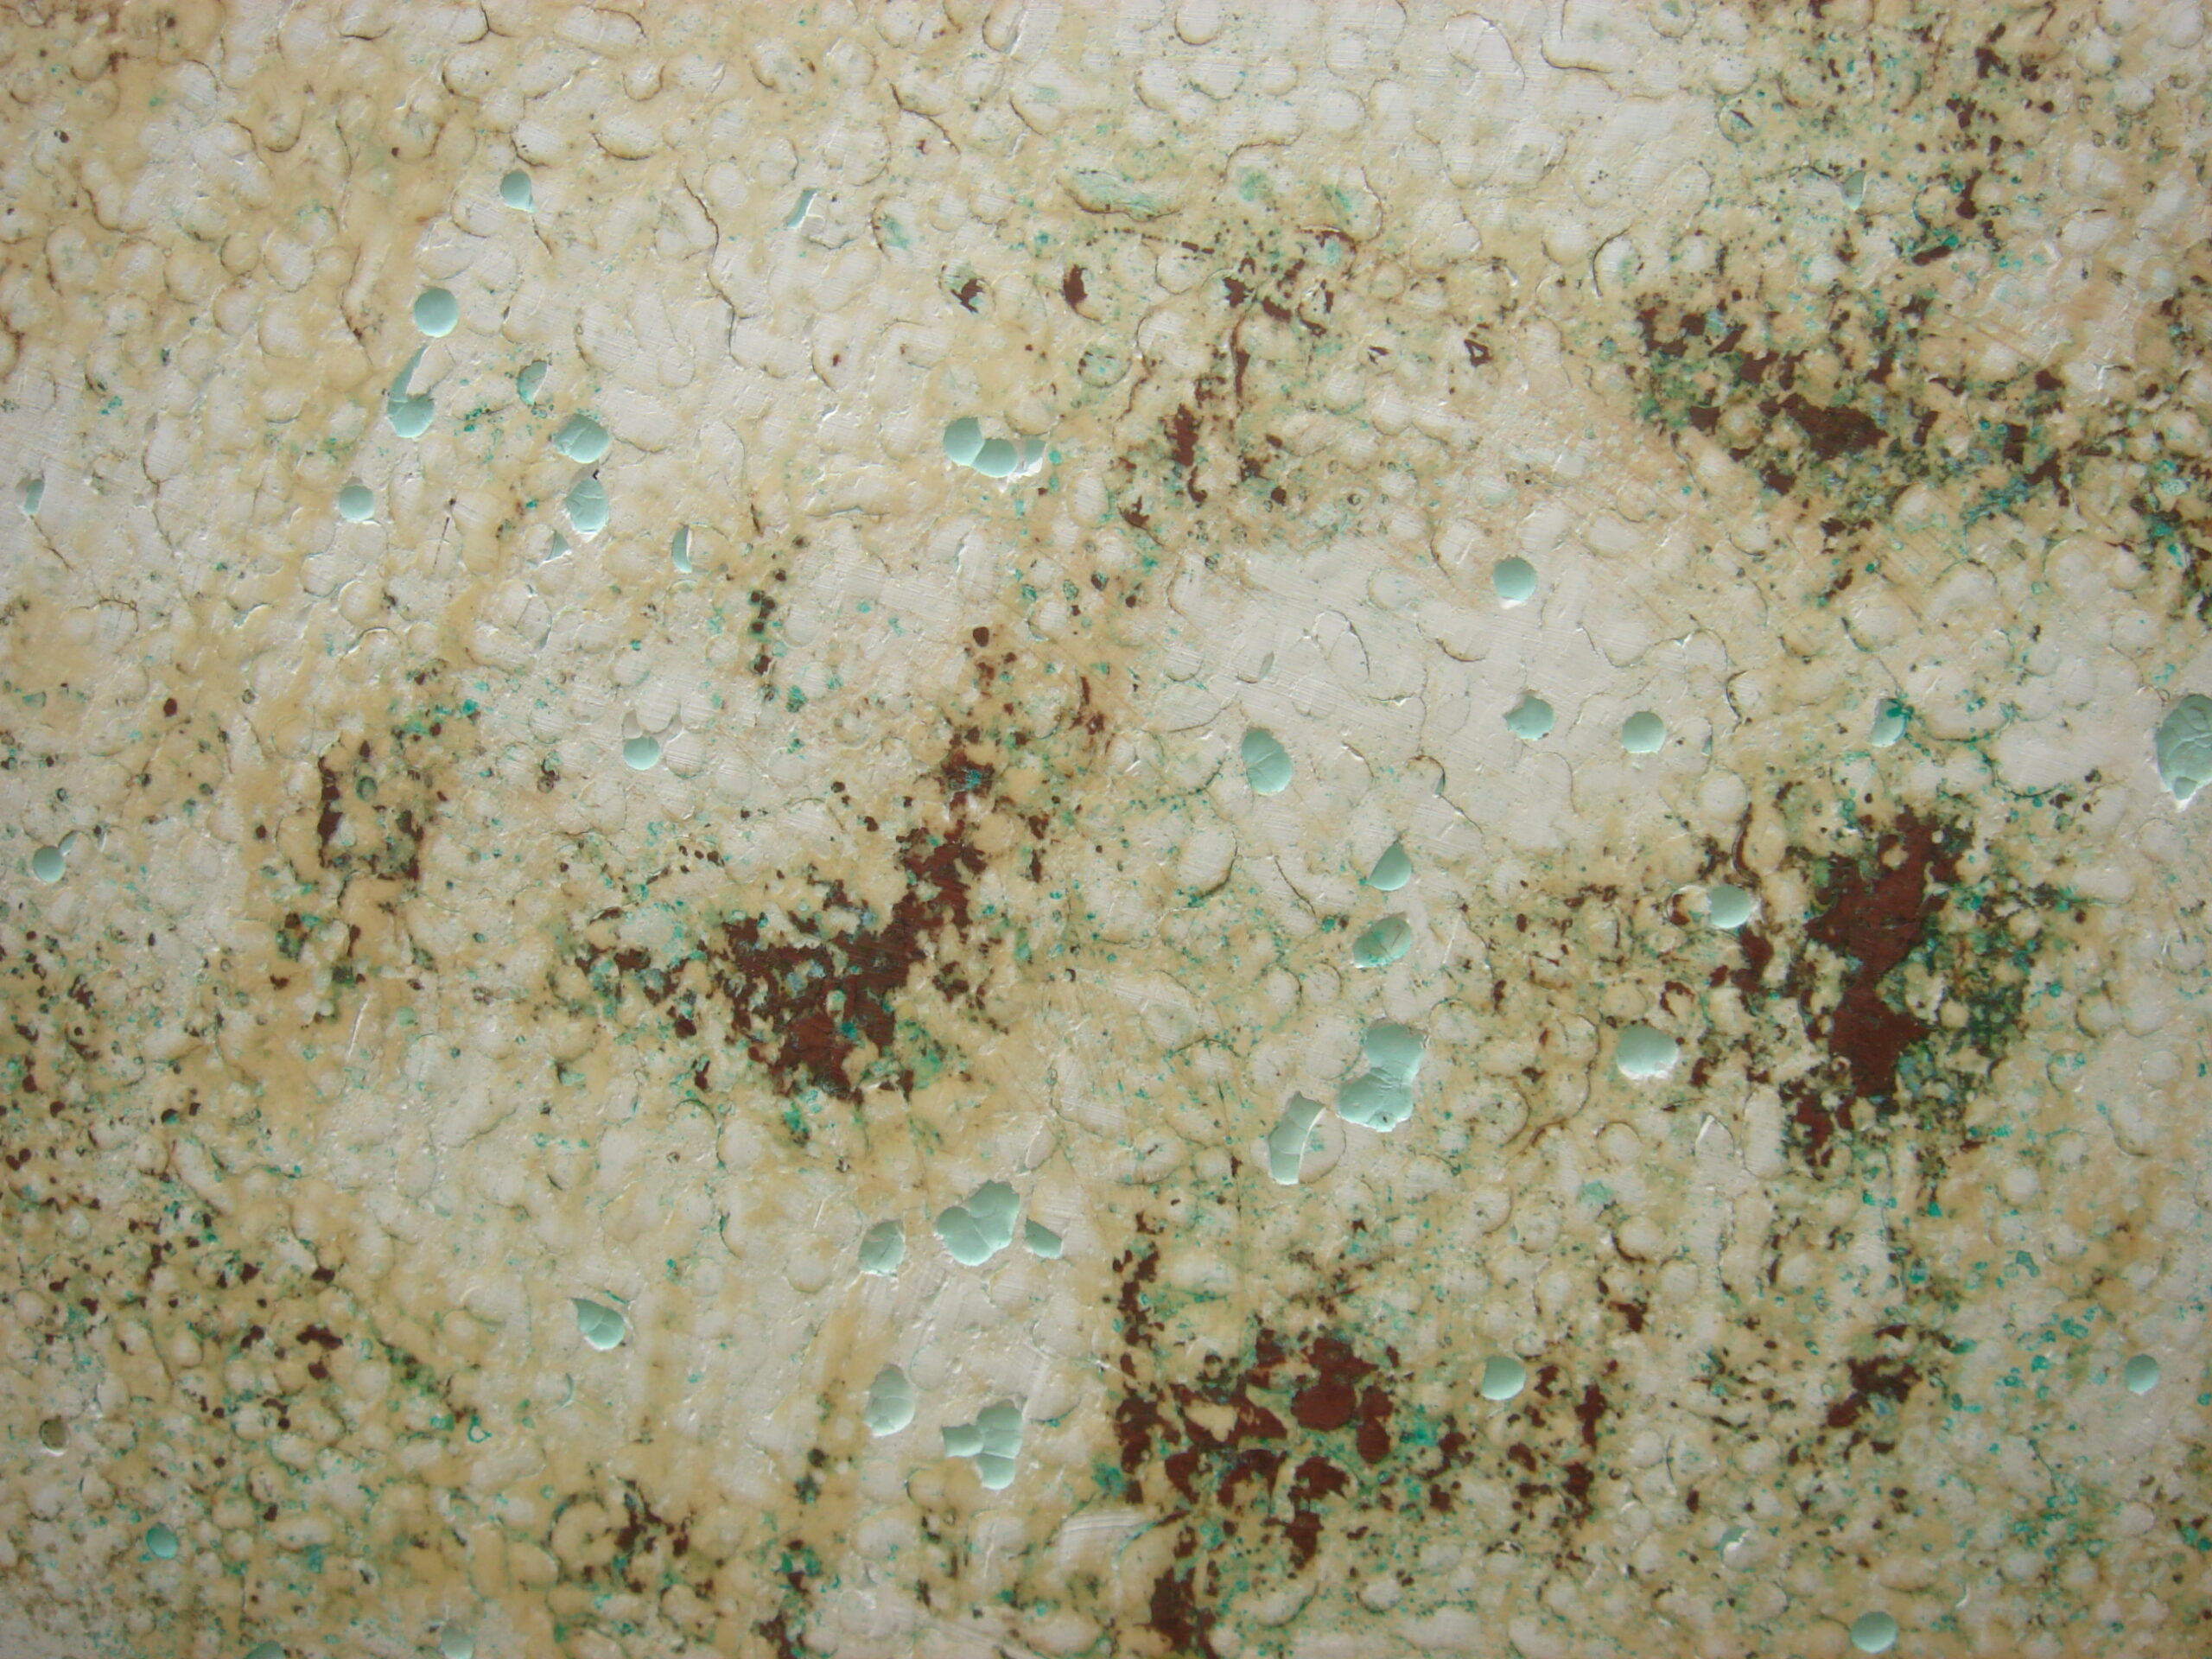
I attribute that to build variables, or infrequent use of cheap and poorly applied bottom paint on the 33. Neither of my Cape Dory boats revealed voids or blisters once stripped, although the 24 Trawler had a couple of 2 inch round spots where the gel coat had not adhered fully to (or had separated from) the hull – mostly likely due to an air pocket when layup was applied to gel-coat. But it was solid fiberglass behind that and with zero trapped moisture. I’ve never seen a true blister on a Cape Dory hull but exposing the gel coat and fully inspecting/tapping the hull will tell you exactly what is going on (better than a moisture meter in my opinion). The sound of a void, saturated, or delaminated fiberglass is distinctly different.
Build standards were not an exact science during the recreation boating boom of the 80’s, and this is hull # 8 so she is an early one. The original owner told me she came complete in 1980 with a small 1 degree list to port which they tried to solve with lead ingots . It never worked so she still had the small list when I purchased her. But that’s nothing a little re-arranging of fresh water storage, provisions, or crew can’t fix!
There was also a strange layer over the gel coat, under the years of paint, which seemed like a polyester resin layer. It was yellowed and in some places very adhered to the gel coat, and other places came right off. This may have been intentional at Cape Dory, or just remnants of the mold release layer the gel goat was sprayed on to. I did not find that yellow layer on my previous Cape Dory Trawler.
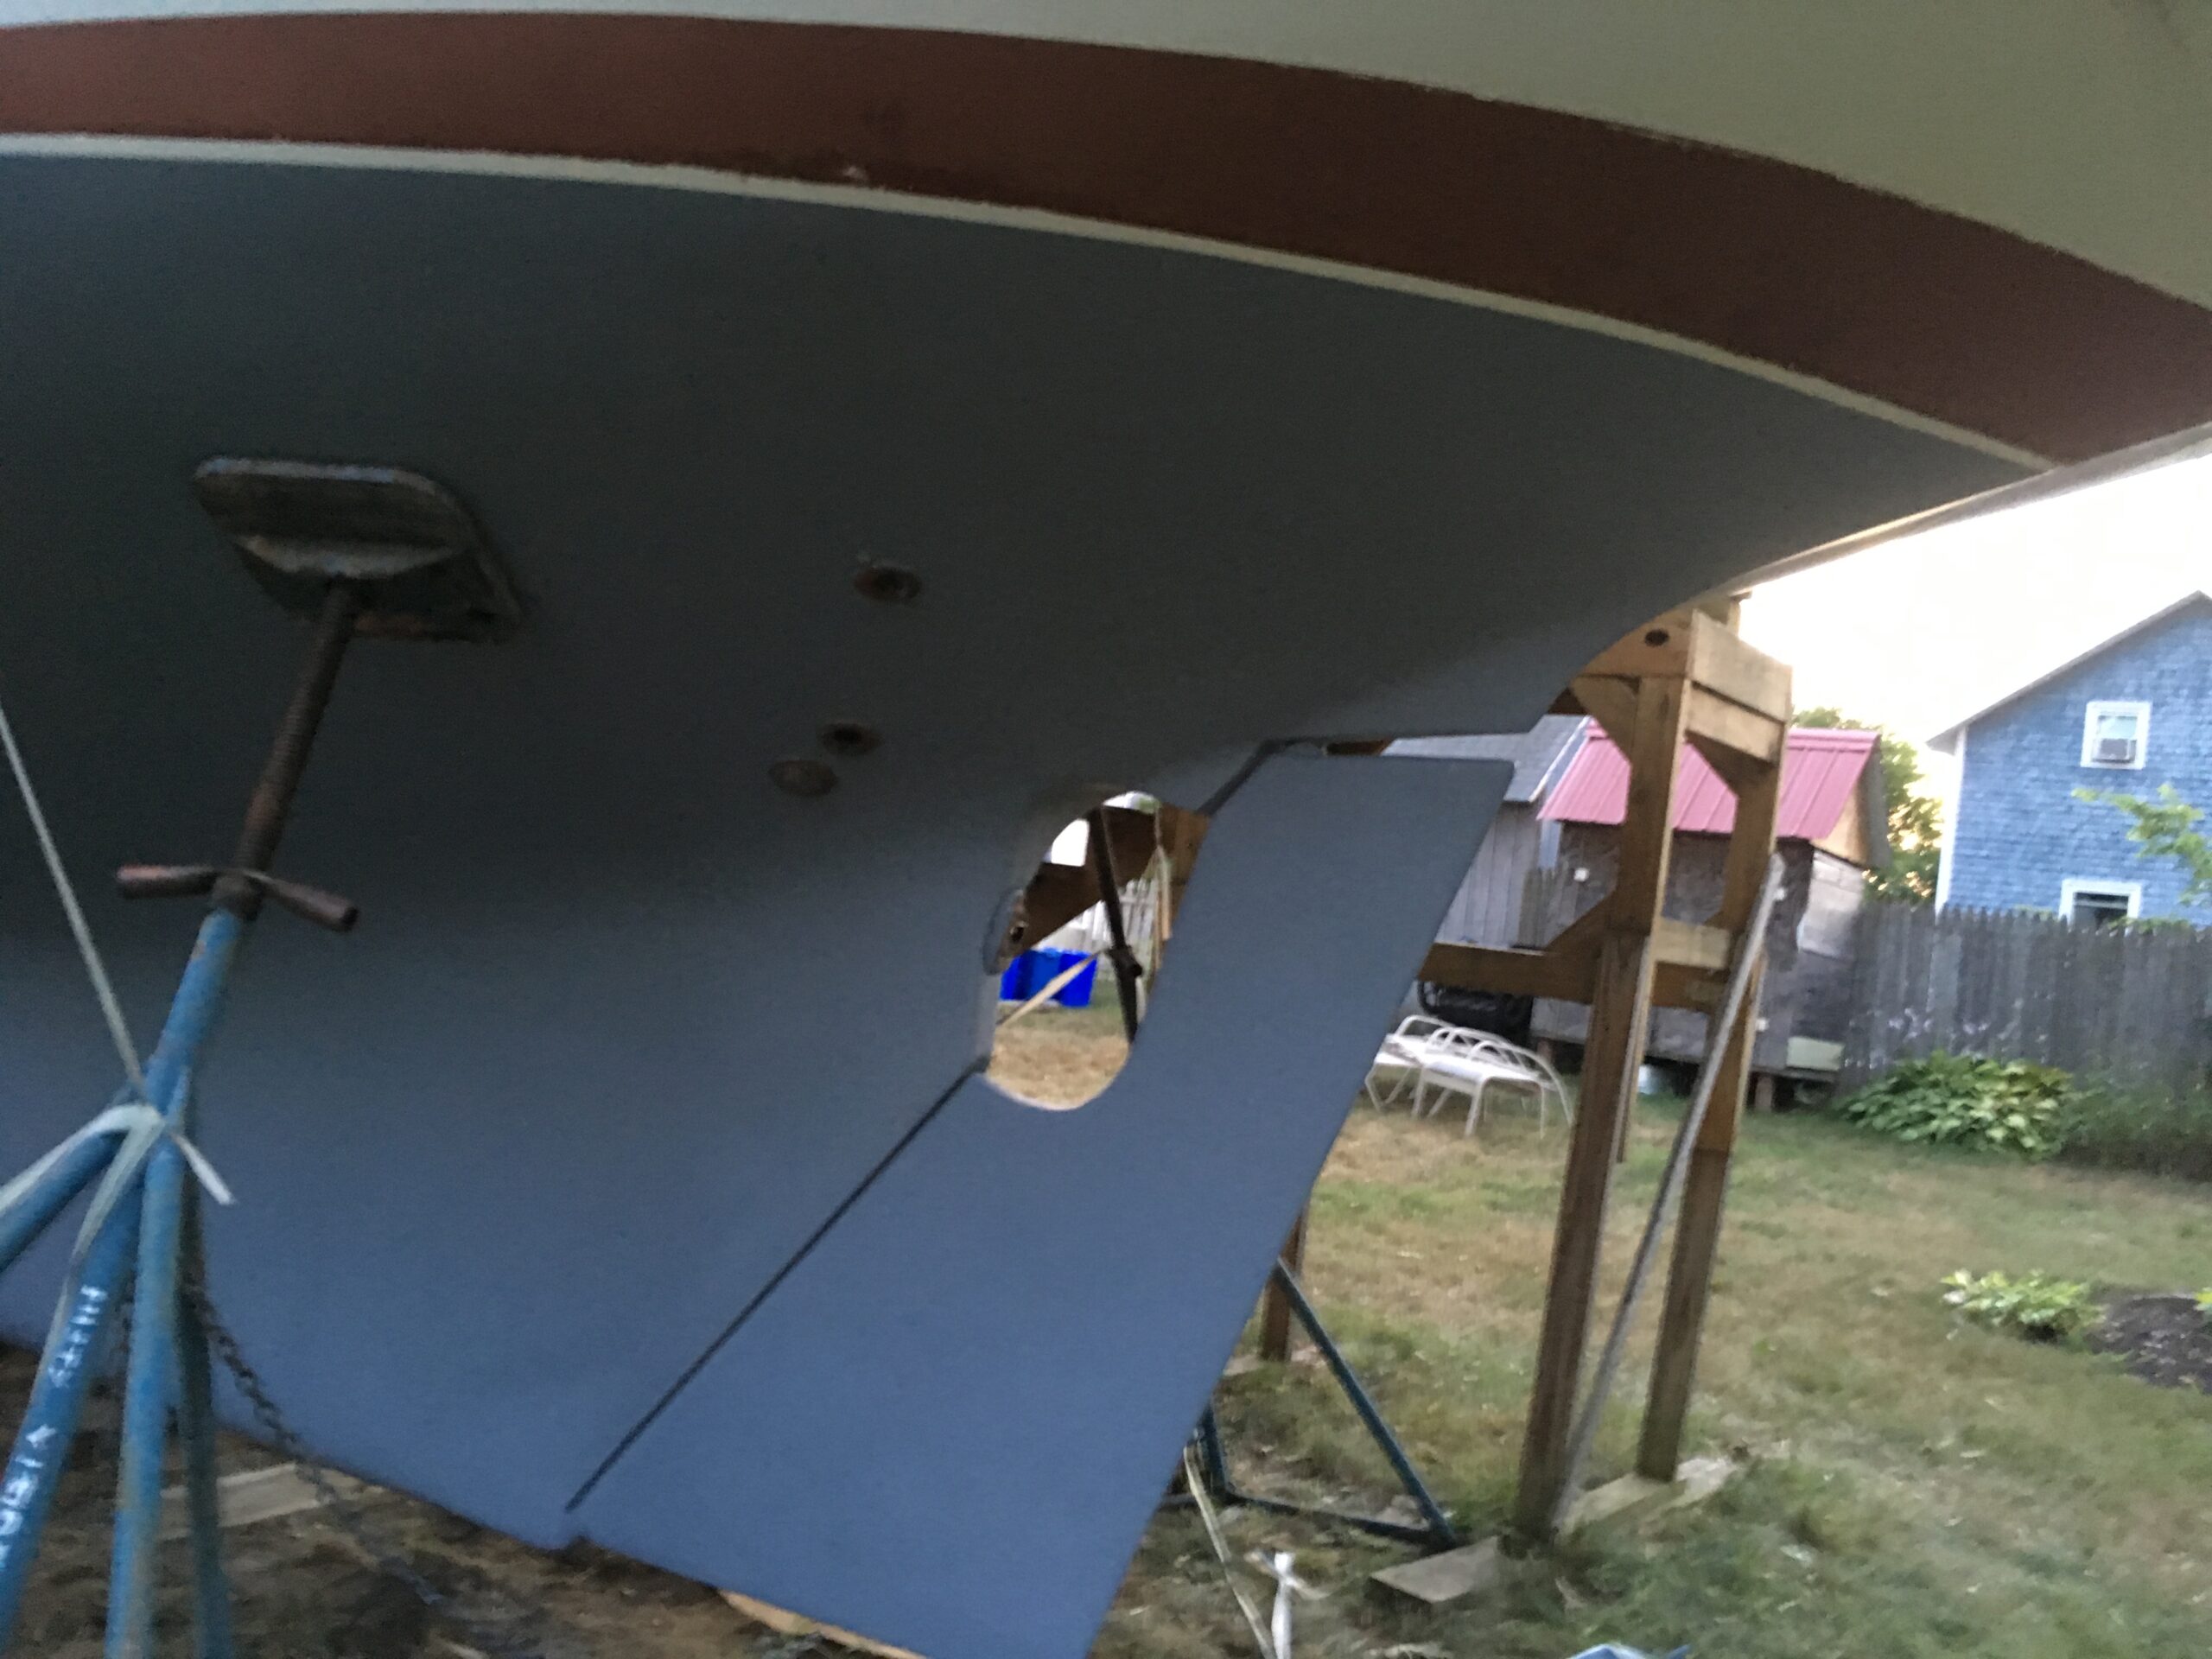
The Interprotect 2000 two part epoxy system worked great for my 24 Trawler, so I used the same system. I have since begun using the Interlux two part primers for any other job that requires a good primer base (emergency tiller protection, wood priming, etc. ) Interprotect as a barrier coat on the hull can usually be built up to the required manufacturer’s thickness with three layers, so that’s what I budgeted for.
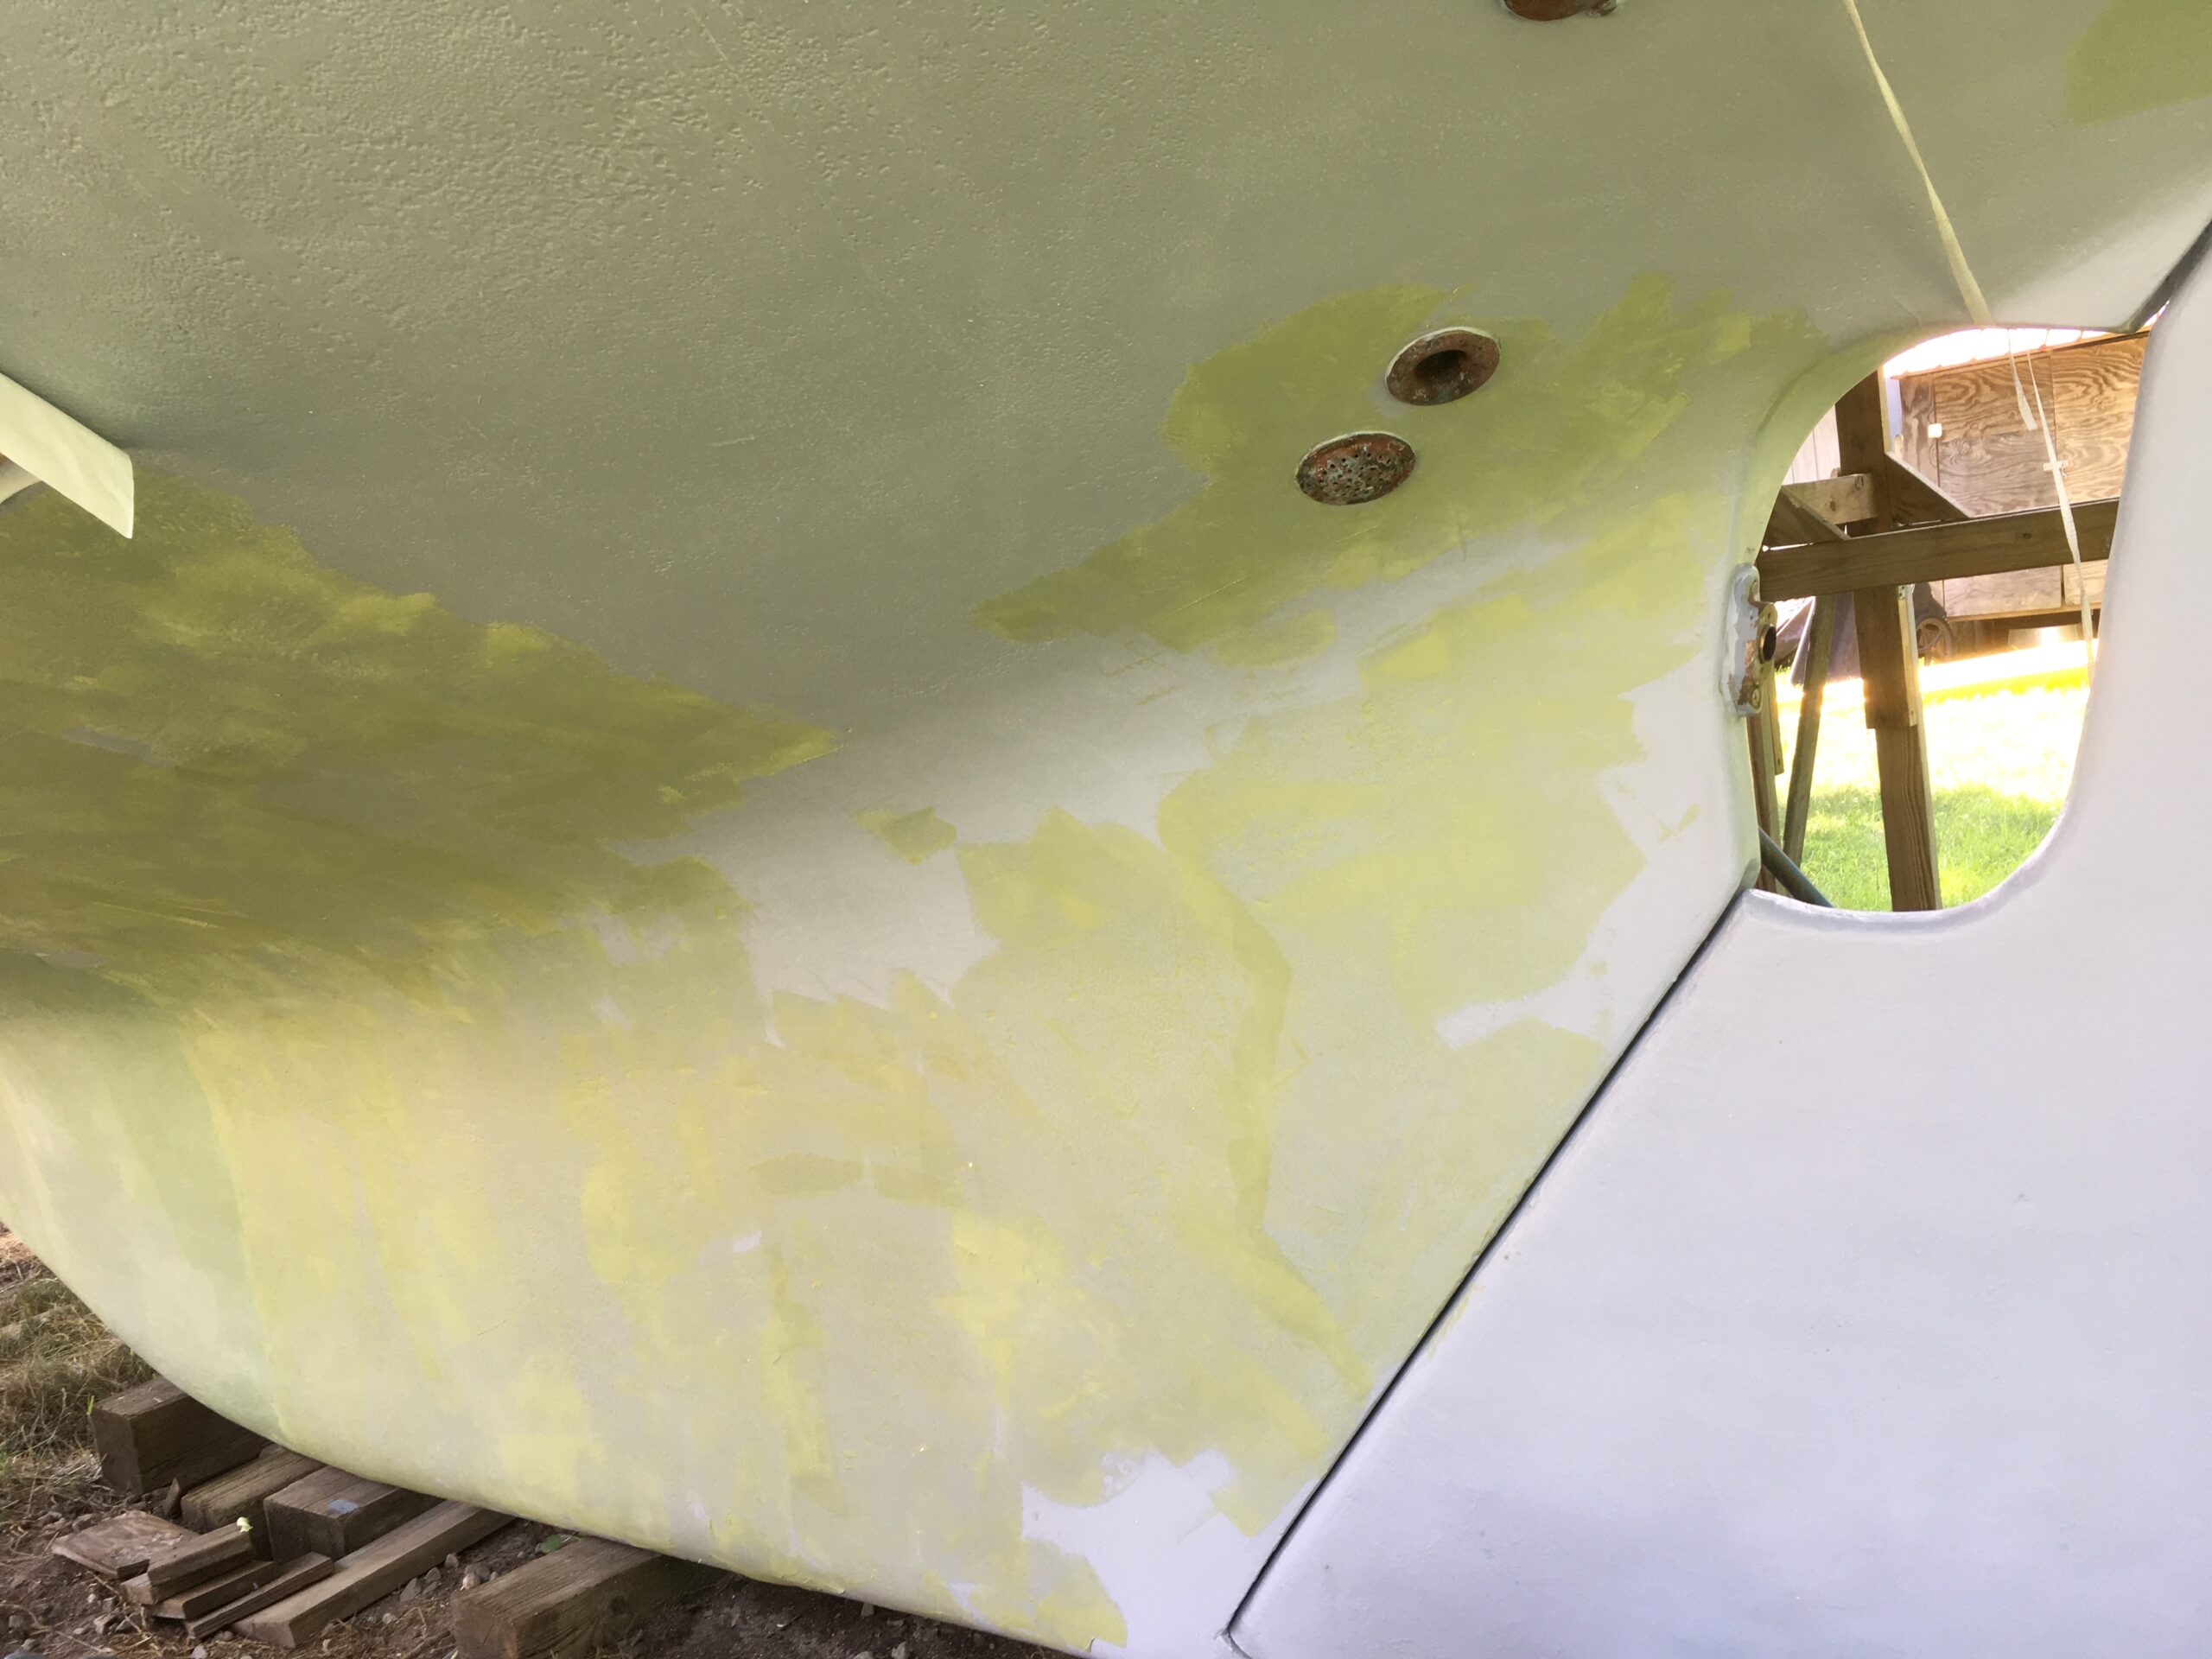
These layers were alternated blue/grey/blue. The fairing goes on after the second coat, before the last epoxy layer. I used a two-part fairing compound (Total Boat from Jamestown Dist). Per Interlux, the layers of barrier coat are cured before the next goes on, and I lightly sand off the tits and wipe the hull down in between layers with mild TSP and then rinse and dry.
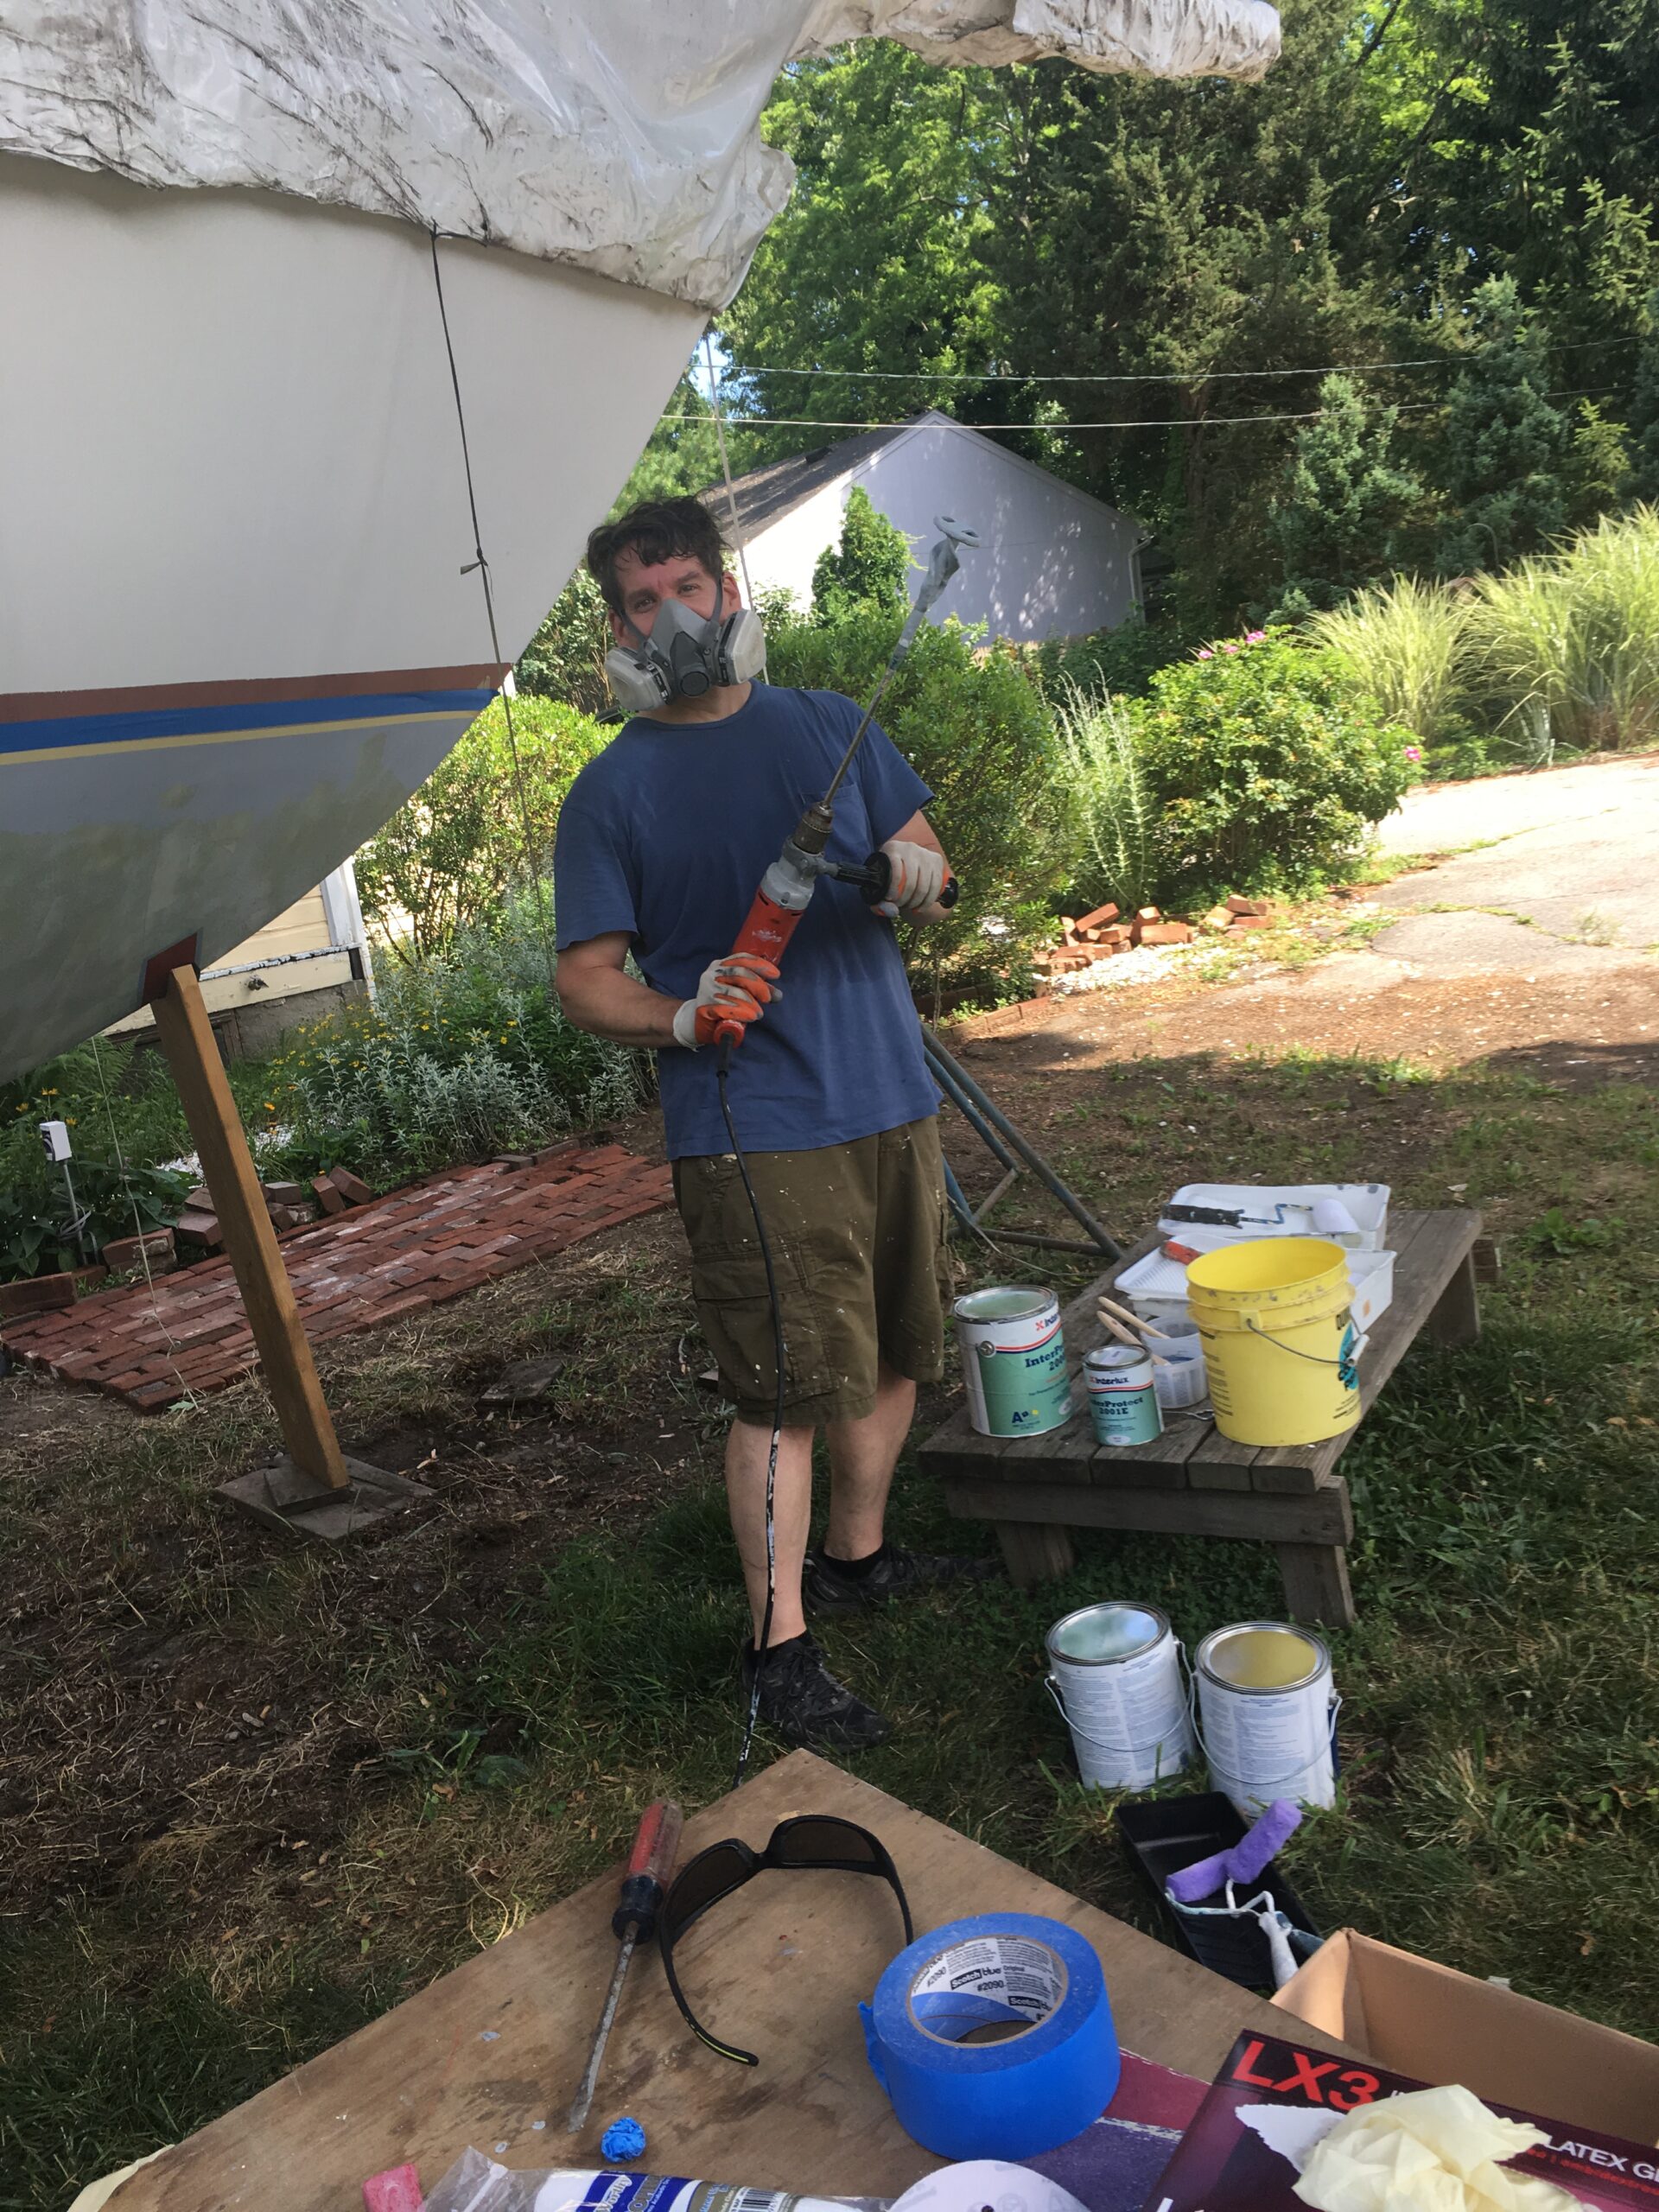
The final layer of barrier coat and the first layer of bottom paint need to be fused. That’s called hot-coating the first layer of bottom paint. This requires doing the last barrier and first bottom coat both on the same day. While the last coat of epoxy is still tacky to the touch, you start rolling on your bottom paint (you need to work fast if the ambient temp is 75 or above otherwise the last barrier coat dries before you get all the first coat bottom paint on) . I have found ablative bottom paint to work well and not break the bank, so I went with ACT.
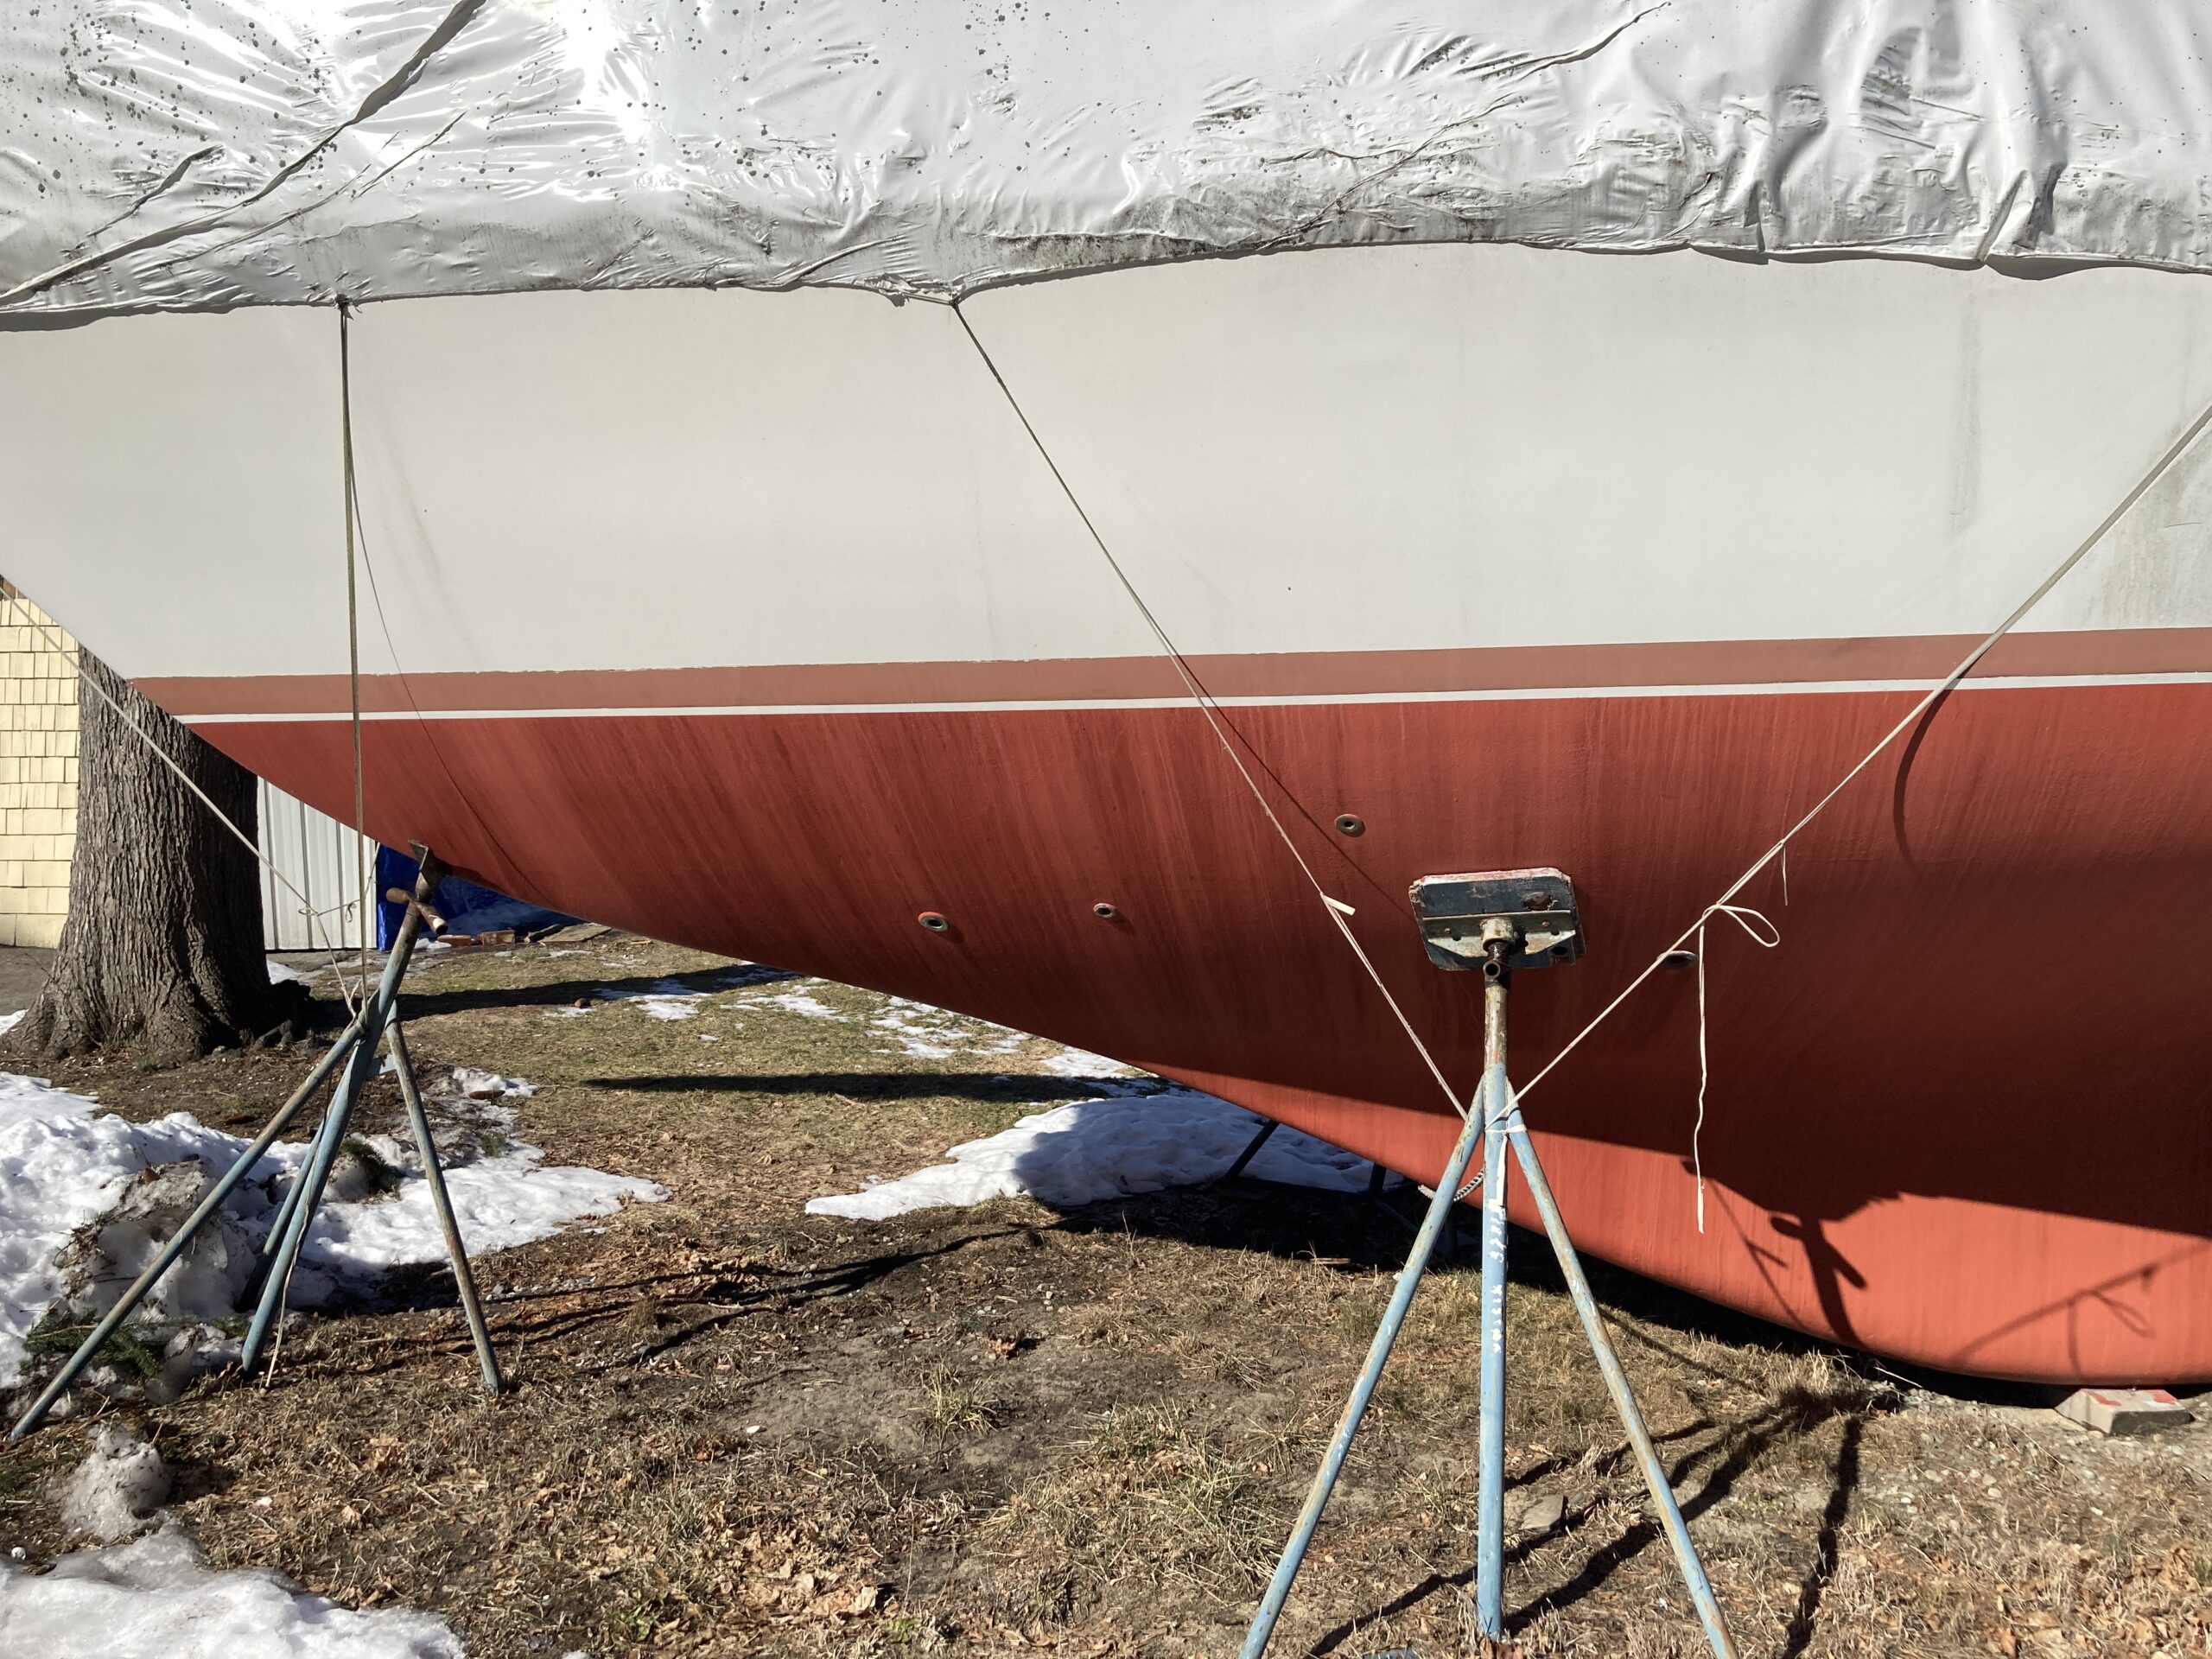
The fairing compound was an extra step but I’m glad I did that, the bottom is very smooth and consistent, will be easier to clean mid-season, and might even give me fraction of a knot more of speed while I dodge the foil boats in Newport Harbor out to break the sound barrier!